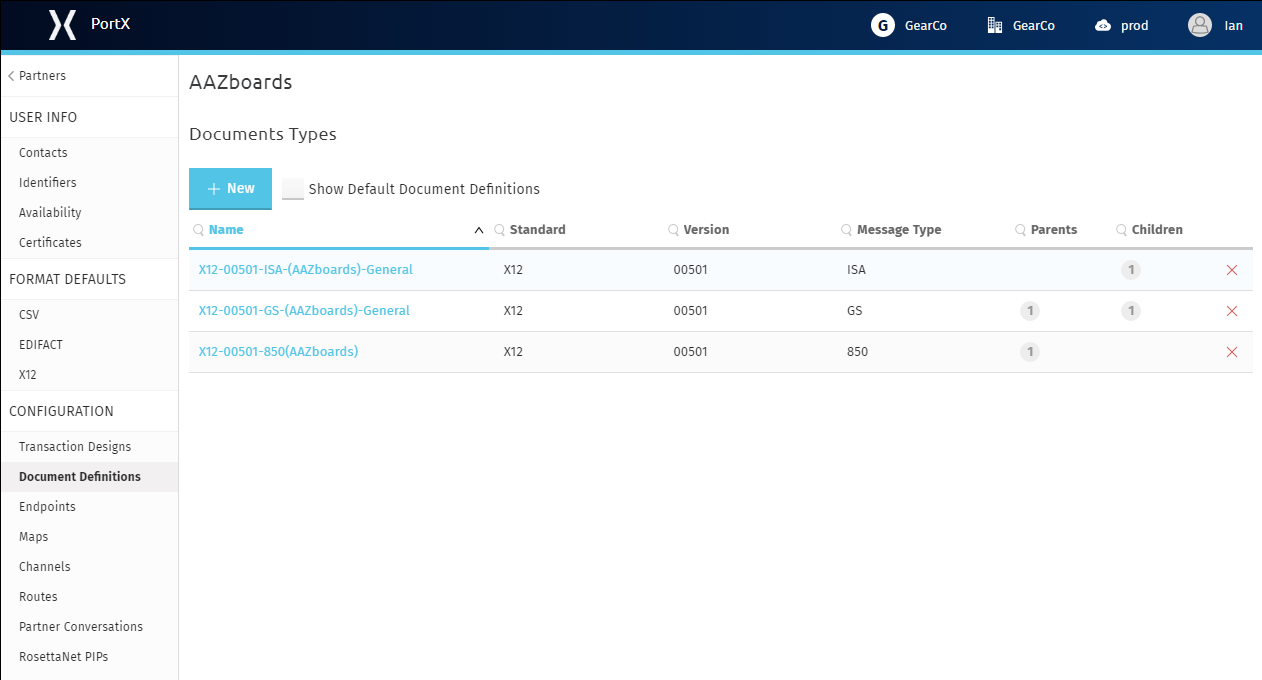
Document Types
Configuring a document type for a partner means configuring settings specific to that document type.
Get Started
-
Start PortX. The Transaction Monitoring Page appears.
-
In the left-hand navigation pane, click Partners and Applications. The Trading Partners Page appears.
-
On the Trading Partners Page, select the name of the partner you want to configure.
-
The Partners and Applications Page appears.
-
In the CONFIGURATION section of the left-hand navigation pane on the Company Information Page, click Document Types.
The Document Types Page appears.
-
From this page, you can:
Edit an Existing Document Type
-
On the Document Types Page, click the Document Type you want to edit.
The Existing Document Types Page appears.
-
Edit settings as appropriate.
For information about editing specific settings, see Add a New Document Type.
| Changing the values for Name or Message Type may disrupt existing processes that refer to the existing values. |
Add a New Document Type
-
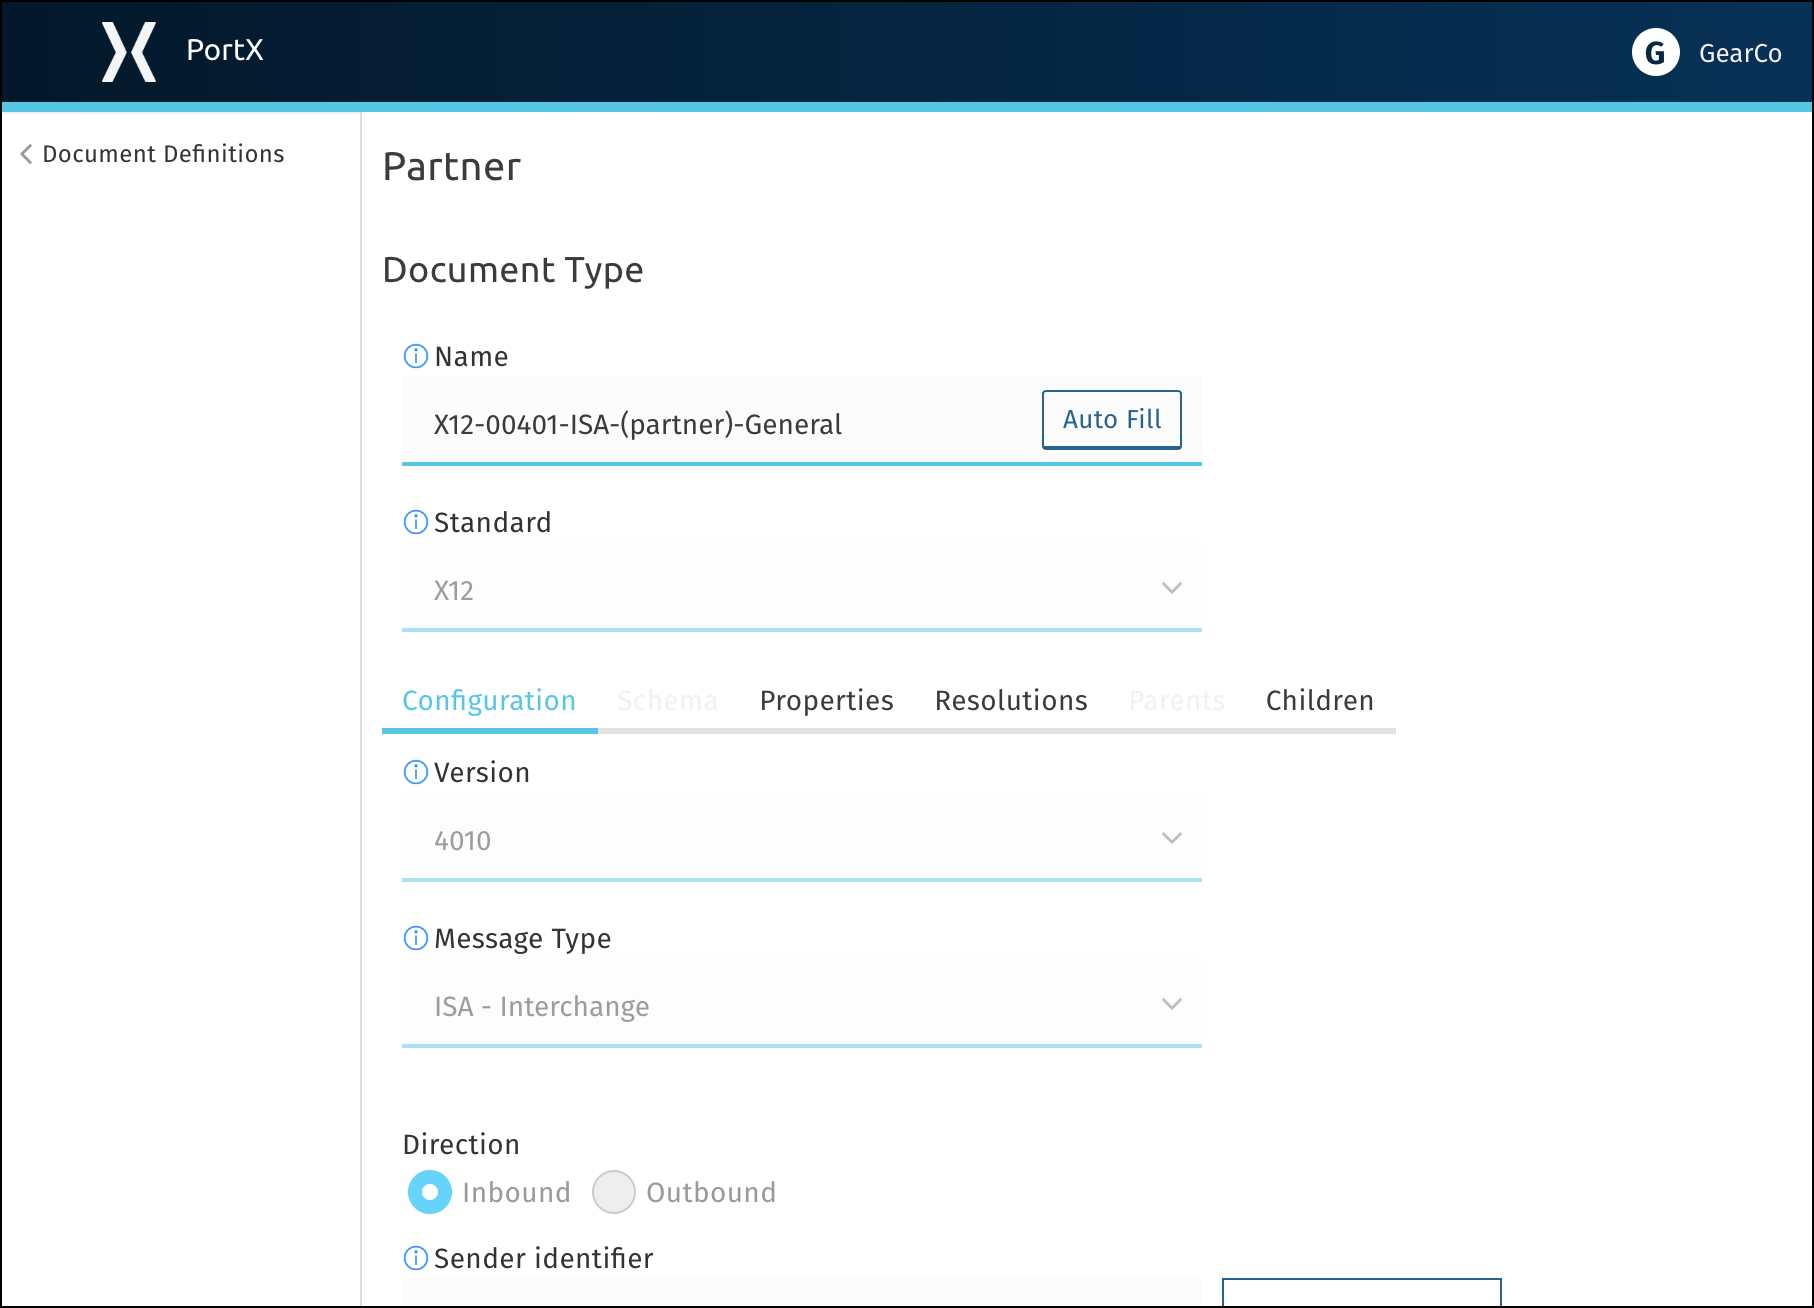
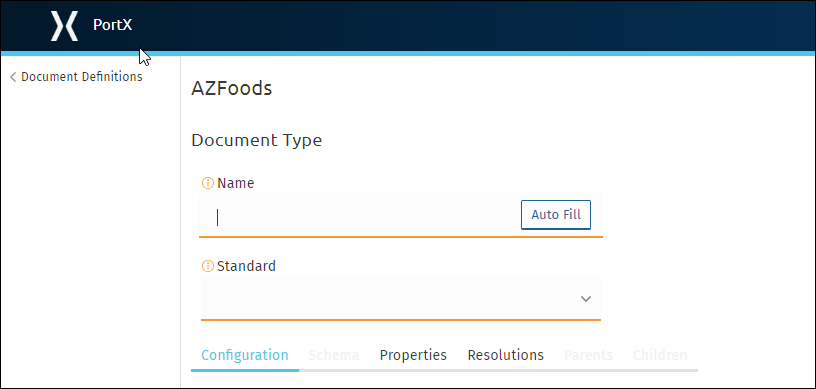
On the Document Types Page, click New. The Document Type Page appears.
-
Enter settings as appropriate.
-
To add a new property, see Document Properties.
| Setting | Description | ||
|---|---|---|---|
Name |
Name for this document type
|
Format
Valid values for Format fields depend on the choice you make for Standard.
| Setting | Description |
|---|---|
Standard |
Select a standard from the dropdown listbox. Based on the standard you select, the appropriate settings options appear. For guidance on these settings, click the link that corresponds to the standard you choose in Valid values.
|
Format (X12)
| Setting | Description | ||
|---|---|---|---|
Version |
Select a value from the dropdown listbox, or enter a different value.
|
||
Message Types |
Select a value from the dropdown listbox, or enter a different value.
|
||
Default Checkboxes |
Select either of these checkboxes in order to use the values selected in the corresponding sections of x12-Settings. Deselect either of these boxes if you want to choose different values than those chosen as defaults.
|
||
Schema |
Click Choose File, then choose a file from the selection window.
|
||
Document Properties |
This section enables you to select a standard-specific label and specify a path for a given document. For more information, see Document Properties. |
Format (EDIFACT)
| Setting | Description | ||
|---|---|---|---|
Version |
Select a value from the dropdown listbox, or enter a different value.
|
||
Message Type |
Select a value from the dropdown listbox, or enter a different value.
|
||
Default Checkboxes |
Select either of these checkboxes in order to use the values selected in the corresponding sections of EDIFACT. Deselect either of these boxes if you want to choose different values than those chosen as defaults.
|
||
Schema |
Click Choose File, then choose a file from the selection window.
|
||
Document Properties |
This section enables you to select a standard-specific label and specify a path for a given document. For more information, see Document Properties. |
Format (CSV)
| Setting | Description |
|---|---|
Version |
Select a value from the dropdown listbox, or enter a different value.
|
Message Type |
Select a value from the dropdown listbox, or enter a different value.
|
Use default Outbound CSV for partner |
Select this checkbox in order to use the values selected in the corresponding sections of CSV-Settings. Deselect this checkbox if you want to choose different values than those chosen as defaults.
|
If you deselect the Use default Outbound CSV for partner checkbox, the following fields appear.
Outbound (Write)
| Setting | Description |
|---|---|
Delimiter |
Separates data in a document or message
|
Has Header Row |
Select this checkbox to include a header row for CSV Inbound documents Deselect the checkbox to omit header rows. |
| Setting | Description |
|---|---|
Use default Inbound CSV for partner |
Select this checkbox in order to use the values selected in the corresponding sections of CSV-Settings. Deselect this checkbox if you want to choose different values than those chosen as defaults.
|
If you deselect the Use default Inbound CSV for partner checkbox, the following fields appear.
Inbound (Read)
| Setting | Description |
|---|---|
Delimiter |
Separates data in a document or message
|
Has Header Row |
Select this checkbox to include a header row for CSV Inbound documents Deselect the checkbox to omit header rows. |
| Setting | Description | ||
|---|---|---|---|
Schema |
Click Choose File, then choose a file from the selection window.
|
||
Document Properties |
This section enables you to select a standard-specific label and specify a path for a given document. For more information, see Document Properties. |
Format (XML)
| Setting | Description |
|---|---|
Namespace |
Type a value in the box.
|
Root Node |
Type a value in the box.
|
Schema |
Click Choose File, then choose a file from the selection window. A NOTE: In the file type box of the selection window, select All Files.
|
Document Properties |
This section enables you to select a standard-specific label and specify a path for a given document. For more information, see Document Properties. |
Format (JSON)
| Setting | Description | ||
|---|---|---|---|
Message Type |
|
||
Schema |
Click Choose File, then choose a file from the selection window.
|
||
Document Properties |
This section enables you to select a standard-specific label and specify a path for a given document. For more information, see Document Properties. |
Format (RosettaNet)
| Setting | Description | ||
|---|---|---|---|
Message Type |
|
||
Version |
Select a value from the dropdown listbox.
|
||
Schema |
Click Choose File, then choose a file from the selection window.
|
||
Document Properties |
This section enables you to select a standard-specific label and specify a path for a given document. For more information, see Document Properties. |
Document Properties
These settings, which must be configured independently for each format, enable you to select a standard-specific label and specify a path for a given document.
Add New Document Properties
On the Document Types Page, click New Property. The Add Property box appears.
| Setting | Description |
|---|---|
Property |
Choose an appropriate label for this document from the listbox.
|
Property Source Type |
Choose an appropriate label for this document from the listbox.
|
Path |
Type the path for the location of this document.
|